
Are you tired of stepping onto the hockey rink and smelling a stench coming from your gear? Cleaning hockey gear is not only important for hygiene, but it also prolongs the life of your equipment and keeps you safe from bacteria buildup. As an avid hockey player myself, I understand the struggle of keeping gear clean and fresh. But fear not, because in this article I will share with you some tips and tricks on how to properly clean your hockey gear so you can focus on dominating the game without any distractions or odors. So grab your laundry detergent and let’s get started!
So, how do you clean hockey gear?
Hockey is a fast-paced and physically demanding sport, which means that your gear can accumulate a lot of sweat, bacteria, and odor. Keeping your hockey gear clean not only ensures a fresh game but also promotes safety by preventing the spread of germs.
The first step in cleaning hockey gear is to gather all the equipment together. This includes your skates, helmet, gloves, pads, jersey, socks, and any other protective gear you use. It’s important to clean everything at once to maintain consistency and avoid missing any pieces.
Next, start by wiping down all hard surfaces with a damp cloth or disinfectant wipes. This includes your helmet and skates. Be sure to get into all the nooks and crannies where sweat and bacteria can hide.
For soft materials like jerseys and socks, follow the washing instructions on the label. Use warm water with detergent specifically designed for sports clothing to remove tough odors from sweat-soaked fabrics.
When it comes to pads and gloves made from synthetic materials such as nylon or polyester blends, they can be washed in cold water on a gentle cycle using mild detergent. Avoid using fabric softener as it can break down these types of materials over time.
To eliminate stubborn odors from padding or foam inserts in helmets or shoulder pads, mix equal parts vinegar and water in a spray bottle and spritz onto affected areas before allowing them to air dry completely.
Don’t forget about your equipment bag! It’s easy for dirt and bacteria to build up inside from transporting dirty gear back home after games or practices. Wipe down the inside of your bag with disinfectant wipes regularly.
Lastly – don’t overlook drying out your equipment properly after each use! Leaving wet gear sitting around will only make it smell worse over time while providing an ideal breeding ground for bacteria growth. Hang up items like jerseys or socks on hangers until fully dry; lay flat larger items like pads so they can air out evenly.
By following these tips and tricks, you can keep your hockey gear clean, fresh, and safe for every game. Remember to make cleaning your gear a regular part of your routine to maintain its quality and extend its lifespan.
Effective Techniques to Wash Hockey Jerseys and Socks
Keeping hockey jerseys and socks fresh after a thrilling game doesn’t have to be a chore. First, it’s important to sort your laundry properly. Always wash your gear separately from regular clothes; this helps prevent any unwanted odors or stains from transferring. Before you toss everything in the machine, check for **loose items** like tape or mouthguards that may have gotten lodged inside pockets or sleeves.
When it’s time to wash, use cold water and a gentle cycle to preserve the colors and fit of your gear. Adding specialized detergent designed for sportswear can work wonders in breaking down stubborn sweat and grime. You might also consider adding some white vinegar to help neutralize odors—just one cup will do! After washing, air drying is best; hang them up instead of tossing them in the dryer, which can cause shrinkage or damage prints on jerseys.
To maintain their freshness between washes:
- Rinse immediately after games.
- Avoid letting damp items sit too long.
- Store them in breathable bags.
By following these simple techniques, you’ll keep your hockey apparel looking vibrant and smelling great all season long!
Detailed Steps on How to Clean Hockey Pads Properly
Cleaning hockey pads is essential for keeping them fresh and extending their lifespan. First, begin by removing any loose debris or dirt from the surface of the pads. Gently shake them or use a soft brush to dislodge particles that may have settled in during play. Next, it’s important to check each pad carefully for any tears or damage; addressing these issues early can prevent further harm. After this preliminary inspection, disassemble your gear as much as possible—take off straps and detach certain components if your pads allow it. This will ensure thorough cleaning.
Now comes the fun part: washing! Use a mixture of mild detergent and warm water in a tub or large sink. Avoid harsh chemicals that might damage materials over time.
Here are some key steps:
- Soak the pads for about 15-30 minutes.
- Gently scrub areas with stubborn stains using a soft cloth.
- Rinse thoroughly with clean water to remove all soap residues.
The final step is drying; air-drying is best—hang them in a well-ventilated area but avoid direct sunlight, which can cause fading and deterioration of materials. With these simple steps, your hockey pads will not only look great but also feel more comfortable next time you hit the ice!
Read also: ice hockey shafts
Thorough Cleaning of Your Hockey Helmet: A Guide
Keeping your hockey helmet clean is essential for both hygiene and safety. Over time, sweat, dirt, and bacteria can build up inside the helmet, creating an unpleasant environment that could lead to skin irritations or infections. To start this thorough cleaning process, you should first remove any extra padding or removable pieces from the helmet. Gently wash these components with warm water and mild soap, ensuring they are free of grime before rinsing them thoroughly. While these parts dry on a clean towel, it’s time to focus on the outer shell of the helmet.
For the exterior surface, use a soft cloth dampened with a mixture of water and vinegar for its natural disinfectant properties. As you wipe down the entire surface in smooth circular motions, pay special attention to hard-to-reach areas where dirt may hide. After cleaning every nook and cranny of your helmet’s interior and exterior surfaces, allow it to air-dry completely before reassembling it. Remember to store your gear in a cool place away from direct sunlight when not in use; this helps protect against wear and tear while keeping everything fresh for your next game!
Maintaining a Fresh Smell in Your Hockey Bag: Easy Tricks
Keeping your hockey bag smelling fresh can be a challenge, especially after intense practices and games. The combination of sweat, gear, and closed spaces creates an environment where odors thrive. One easy trick is to regularly empty your bag after each use. Take out all the wet items like socks and jerseys; letting these dry out will prevent nasty smells from building up over time. Additionally, consider using breathable bags that allow air circulation instead of plastic ones that trap moisture.
Another effective method to maintain freshness is to use natural deodorizers. Baking soda works wonders—simply sprinkle some inside the bag and let it sit overnight before vacuuming it out. You can also place dryer sheets or cedar blocks within your gear for a pleasant scent.
Moreover, ensure you’re washing the removable liners or cloths whenever possible since they easily absorb odors too. Regular cleaning goes a long way; consider setting aside time weekly for this task to keep everything fresh and enjoyable when you grab your equipment for practice or games! Embrace these small habits to enjoy a much more pleasant experience every time you open your hockey bag!
You may also like: viper air hockey table
Essential Takeaways for Keeping Your Hockey Gear Clean.
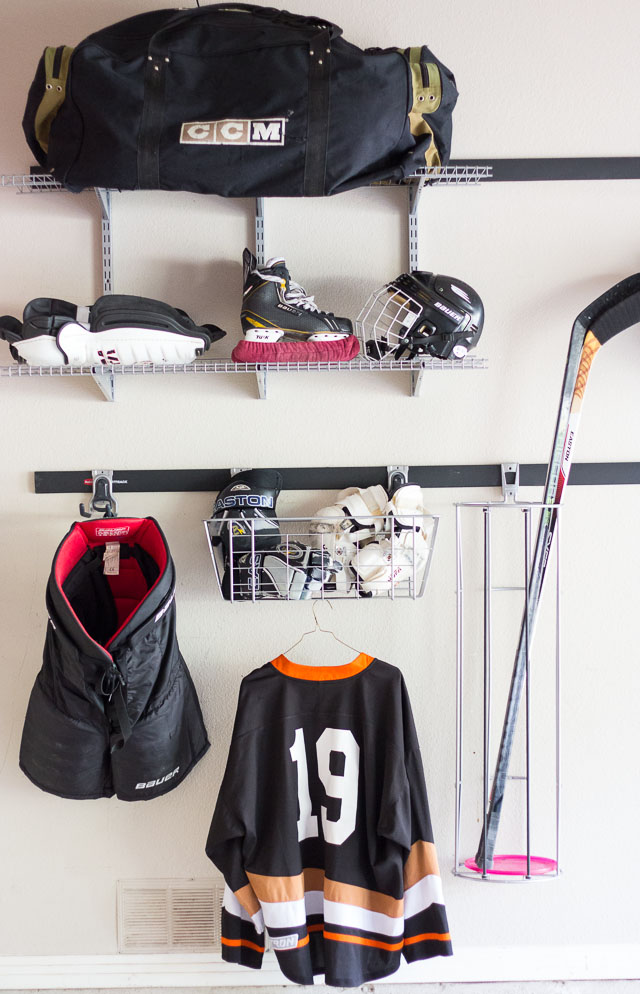
Keeping your hockey gear clean is super important, not just for hygiene but also for the lifespan of your equipment. At the end of each practice or game, take a few moments to inspect your gear. After every use, it’s best to air out your items by removing them from their bags and letting them breathe. This helps prevent that funky smell that can come from sweat and moisture buildup. For a deeper clean, you might want to periodically wipe down the surfaces with soft cloths or disinfectant wipes to eliminate bacteria and odors.
Furthermore, washing certain pieces like jerseys and socks in cold water can keep everything fresh without damaging colors or fabric. Be sure to always check labels first! Don’t forget about storing your gear properly; avoid damp spaces as they promote mold growth on pads and skates. Instead, think about using mesh bags or bins that allow airflow while keeping everything organized. Regular cleaning not only feels good but also enhances performance on the ice—who doesn’t want gear that looks snazzy too? By taking these steps consistently, players ensure they stay safe while enjoying this exhilarating sport!
Read also: How does a bubble hockey table work?
