Air hockey is a popular and exciting game that has been enjoyed by people of all ages for decades. However, like any other game, air hockey tables can get worn out or damaged over time. If you are a beginner in the world of air hockey and have recently acquired your own table, you may be wondering how to fix it if something goes wrong. Well, worry not! In this step-by-step guide for beginners, I’ll walk you through the process of fixing an air hockey table top so that you can keep playing without any interruptions.
Whether your table has scratches or dents, a broken motor or puck return system, or simply needs cleaning and maintenance, I’ve got you covered. With some basic tools and a little bit of patience, you’ll have your air hockey table looking and functioning like new in no time. So let’s get started on learning how to fix an air hockey table top!
So, How to fix an air hockey table top?
If you’re a beginner and your air hockey table top is in need of repair, don’t worry! With just a few simple steps, you can have it looking as good as new. Here’s an easy-to-follow guide on how to fix an air hockey table top.
Step 1: Assess the Damage
The first step in fixing any problem is understanding what needs to be fixed. Take a close look at your air hockey table top and identify any areas that are damaged or worn out. This could include scratches, dents, or peeling laminate.
Step 2: Gather Materials
Once you know what needs to be fixed, gather all the necessary materials. This may include sandpaper, wood filler, paint or stain (if needed), and a cloth for cleaning.
Step 3: Sand Down the Damaged Area
Using sandpaper with medium grit, gently sand down the damaged area until it becomes smooth and even with the rest of the surface. Be sure to wipe away any dust or debris after sanding.
Step 4: Fill in Any Holes or Cracks
If there are any holes or cracks in the wood surface of your table top, use wood filler to fill them in. Follow the instructions on the product for best results.
Step 5: Paint/Stain (Optional)
If your table top has been painted or stained before and now has visible damage in those areas, you may want to touch up those spots with paint/stain for a seamless finish.
Step 6: Clean and Polish
Once everything is dry and set according to instructions on products used (if applicable), clean off any remaining dust from sanding using a damp cloth. Then polish the entire surface using furniture polish for added shine.
And voila! Your air hockey table top should now look good as new. Remember to regularly maintain your table by wiping it down after each use and avoiding placing heavy objects on it. With these simple steps, you can keep your air hockey table top in great condition for years to come. Happy playing!
Identifying Common Issues with Air Hockey Table Tops
Air hockey is a blast, and owning your table means unlimited fun. But sometimes things can go wrong with the surface that might put a damper on your game night. One common issue is uneven wear and tear. Over time, constant puck hitting can create small dents or scratches on the tabletop, affecting how smoothly the puck glides. These blemishes might seem minor initially but can significantly affect gameplay as they worsen.
Another pesky problem involves clogged air holes. The magic of air hockey lies in those tiny holes pumping out air to let the puck float effortlessly across the surface. Dust, dirt, or even pet hair getting stuck in these openings can block airflow and slow down your game’s speed dramatically.
To address these issues effectively:
- Regularly clean the table top
- Inspect for any signs of damage
Using compressed air to clear out blocked holes ensures consistent performance.
By paying attention to these aspects and maintaining your table well, you’ll keep it in tip-top shape for exciting matches ahead!
Read also: when was air hockey invented
Understanding the Tools and Materials Needed for Fixing an Air Hockey Table Top
Fixing an air hockey table top isn’t as daunting as it might seem, especially with the right tools and materials at your disposal. First, you’ll need a screwdriver set to take apart any sections of the table that require attention. This will usually involve removing screws from the rails or even detaching the entire playing surface if necessary. A utility knife can be handy for cutting away worn-out parts of the felt or puck-stopping linings around the edges. Sandpaper is essential too; it helps smooth out any rough patches on both wood and plastic components.
Equally important are your repair materials which often include:
- Wood filler
- Epoxy glue
- A replacement fan (if airflow issues exist)
- An adhesive felt sheet
These items ensure that you can fill in gaps, reattach broken pieces, improve airflow, and replace damaged sections of your air hockey table’s surface. For instance, using epoxy glue allows you to mend cracks effectively while ensuring durability under heavy use conditions.
In addition to these essentials, having a protective cloth or tarp will help keep stray dust and debris contained during repairs—this keeps things tidy and prevents additional work once you’re done fixing up those problem areas. Having all these supplies on hand makes sure you’re well-prepared to get your air hockey table back in prime condition efficiently without repeated trips to the hardware store.
Step-by-Step Process to Repair Scratches, Dents, or Broken Parts of an Air Hockey Table Top
It’s super frustrating to see your beloved air hockey table scratched or dented, right? Well, the good news is that you can often fix these problems yourself with just a handful of tools and a bit of patience. Begin by gathering your repair materials: sandpaper, wood filler, a putty knife, paint that matches the table’s color, and some clear coat finish.
First, clean the surface thoroughly to remove any dust or debris. This ensures that your repairs will hold better. Next, use the sandpaper to gently smooth out any rough edges around scratches or dents. If it’s a deep scratch or dent you’re dealing with, apply wood filler using your putty knife and let it dry completely—usually for about 24 hours.
Once everything is dry and smooth again, it’s time for painting! Apply thin layers of paint over the repaired spots until they blend seamlessly with the rest of the tabletop. Make sure each layer dries before adding another one; this helps avoid clumping and uneven surfaces.
Finally
apply a few coats of clear finish for protection against future wear-and-tear. Allow adequate drying time between each coat here as well.
To tackle broken parts like rails or legs,
ensure
you first disassemble them carefully so you don’t damage other sections in the process.
Reattach using strong adhesives designed for furniture repair—these are typically available at hardware stores.
For added sturdiness screw them back into place if possible (just be careful not to crack anything while doing so). Give ample time for curing before testing out how sturdy everything feels.
Read also: carrom sports hockey table
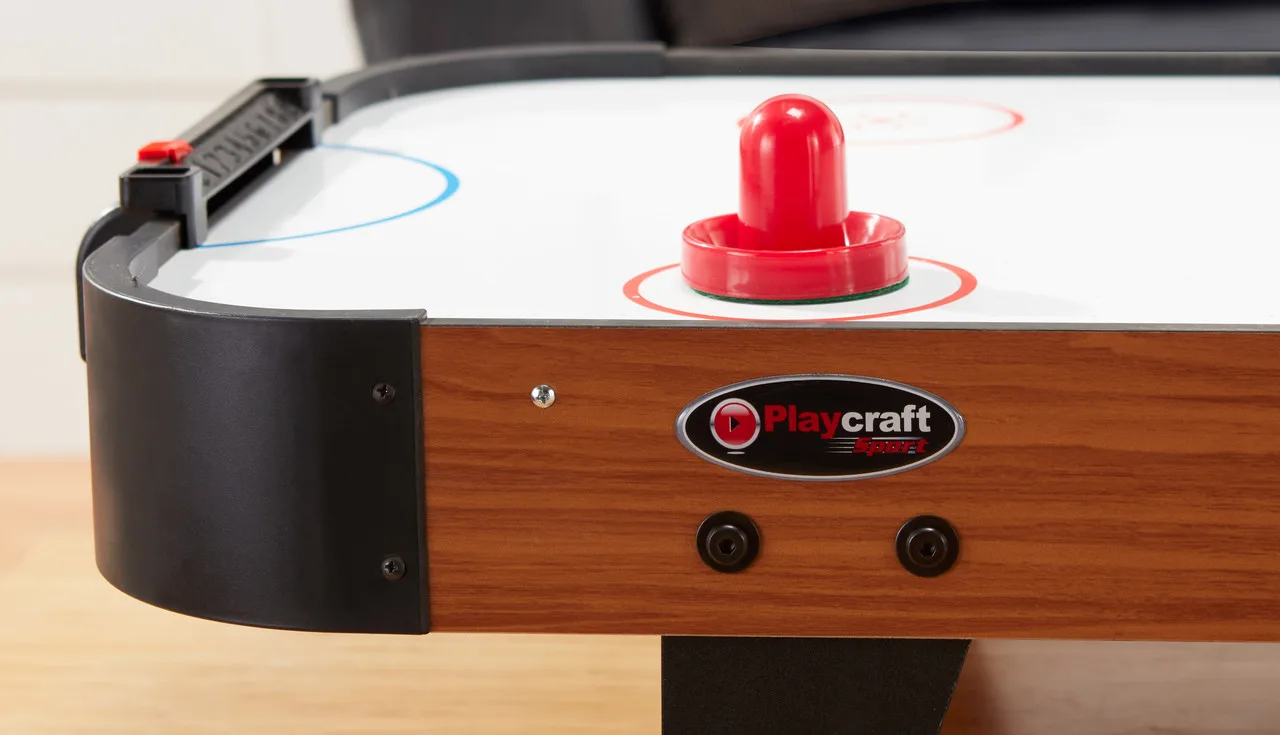 How to fix an air hockey table top
Proper Maintenance and Care for Your Air Hockey Table Top After Repairs: Tips and Tricks
Taking care of your air hockey table top, especially after a repair, is crucial to ensuring it remains in peak condition. Start by gently cleaning the surface with a soft cloth and mild soap solution. Avoid harsh chemicals; they can damage the finish. After cleaning, dry it thoroughly to prevent moisture from seeping into any cracks or seams. It’s also wise to check the airflow regularly. The tiny holes on the table should be free from dust and debris since clogged holes will significantly impact gameplay quality.
Additionally, consider applying a light silicone spray specifically designed for air hockey tables once every few weeks. This helps maintain a slick surface that allows pucks to glide smoothly during play. Don’t neglect other parts either—inspect paddles and pucks for wear and replace them when needed for optimal performance.
- Regularly clean with gentle solutions
- Ensure unblocked airflow through small holes
- Use silicone spray periodically
- Inspect paddles and pucks frequently
Don’t overlook the importance of leveling your table correctly; an uneven surface will affect puck movement dramatically.
Use carpenters’ levels at multiple points on the table to ensure it’s perfectly flat.
Place pads under adjustable legs if necessary.
By following these steps diligently, you can prolong not only the life of your air hockey table but its excellent playing experience as well!
Conclusion: Embrace the Self-Sufficient Game Room Owner Journey – Air Hockey Table
Creating a self-sufficient game room offers boundless joy and satisfaction, especially when it includes the exhilarating air hockey table. Imagine, every time you walk into your personal haven of fun, there’s an element of excitement awaiting you. An air hockey table adds a dynamic dimension to any game room setup. You don’t need professional skills; just some enthusiasm and maybe a friend for competition. The swiftness of the puck gliding smoothly over the sleek surface brings out laughter and cheers, making every moment memorable.
In addition to simple enjoyment, owning an air hockey table can be *supremely rewarding*. It encourages family bonding, offering an inclusive activity that everyone can participate in regardless of age or skill level. Plus, it’s not just about entertainment—there’s also a sense of achievement involved in maintaining your own equipment. Cleaning the surface regularly ensures peak performance, while occasional part replacements keep it running like new for years to come.
- Family Fun
- Sleek Design
- Easy Maintenance
So why wait? Embrace this journey! Let each game bring smiles and unforgettable moments as you bask in the glow of being a proud owner who knows how to balance fun with responsibility perfectly.
You may also like: sam air hockey table